
I searched for tutorials for making sleeping bags for children, but nothing came up that fitted what I wanted to make. So I decided to create my first sleeping bag tutorial if others would like to make a sleeping bag but weren't exactly sure how to proceed. This one is made for my 2 1/2 year old toddler based on one I made before - only this one is longer. You can make is as long or short as you like.
This sleeping bag will have the zip on the right of the body (for the one who wears it), but you can make it either way. Back and front are the same so if you don't put on an applique there is no front and back.
Here is the finished sleeping bag, a close up of the neck area (see the full sleeping bag at the end of the tutorial)

Step 1: Cut the fabric
Take a pattern for a jumper or an actual jumper or old sleeping bag the size you want. Use that to get the shape for the top of the sleeping bag. It has to be nice and lose to be comfortable to sleep in yet not too loose so the child swims in it.
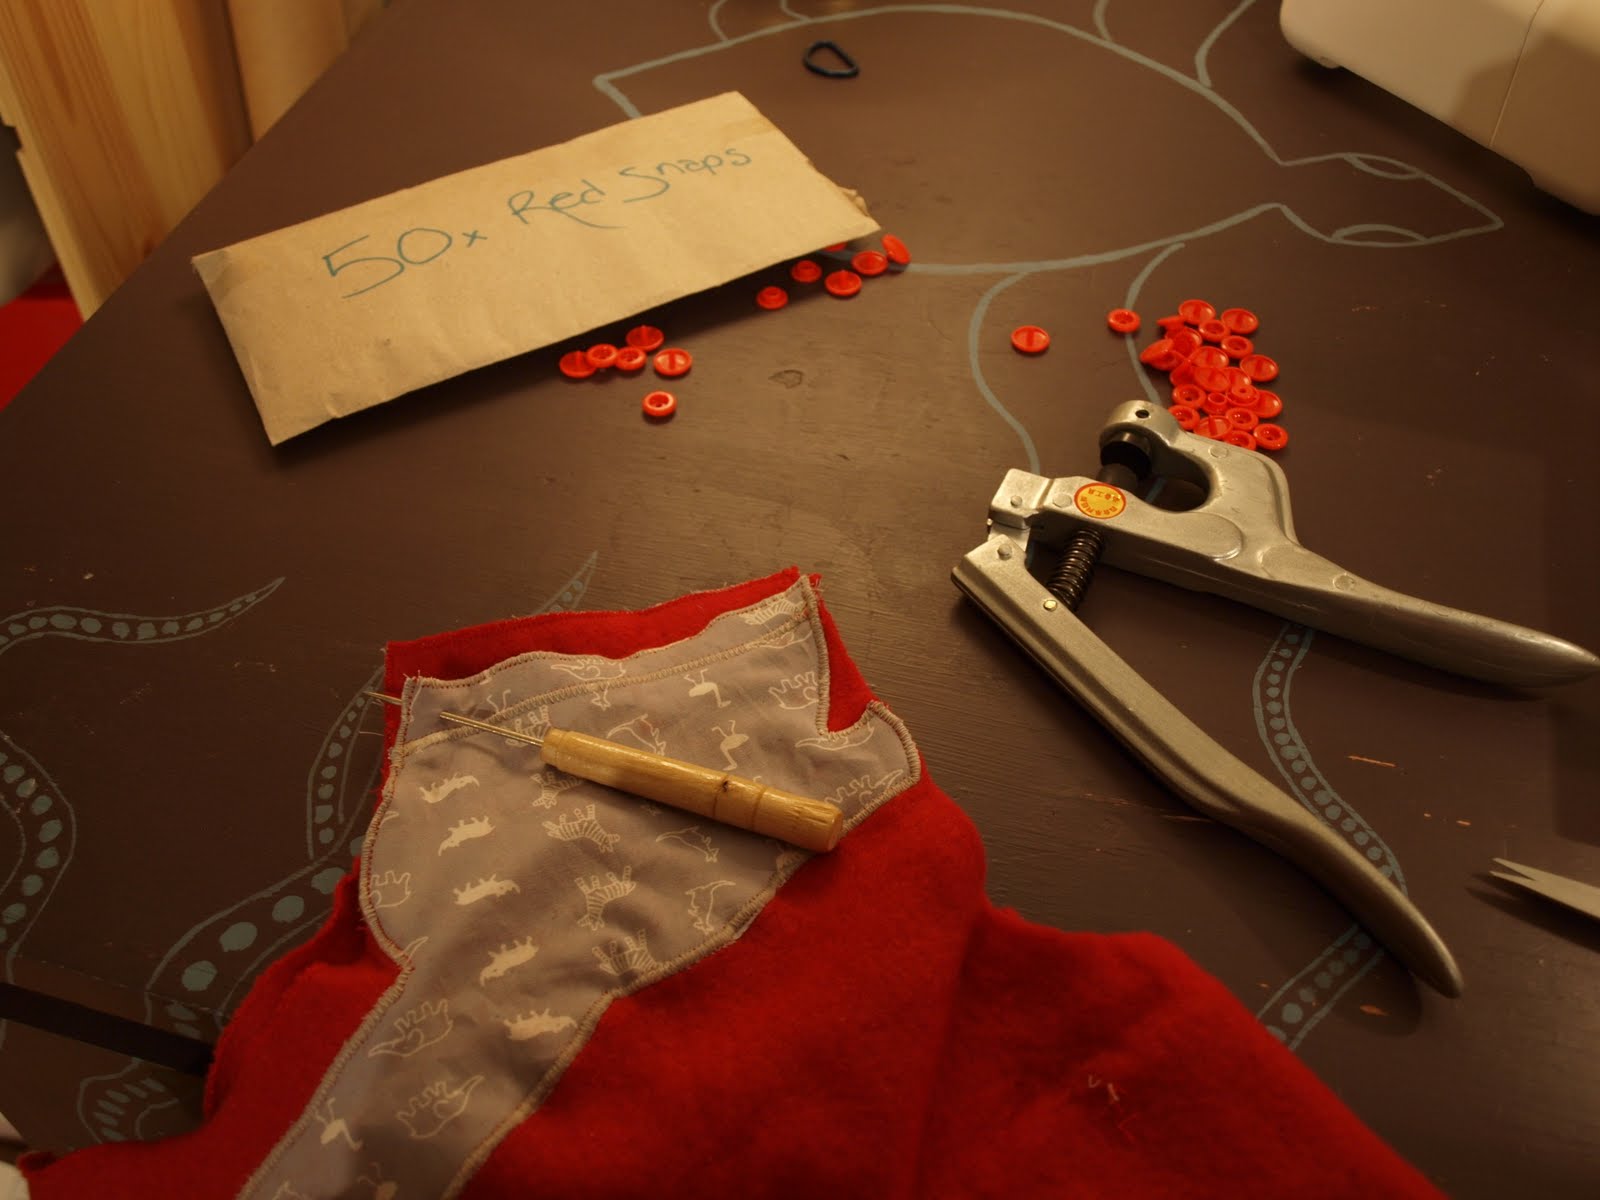
Cut around the line leaving about a centimetre for seam allowance (or as much seam allowance as you prefer). I use snap buttons on the one shoulder, but you can use buttons. Leave an extra centimetre on the top for the right shoulder (or the one that will have the opening) so there is fabric to attach snaps at the end. The left shoulder will be a bit shorter than the right at this stage and the cut piece of fabric will look a bit asymmetrical).

I made the new bag about 15 cm longer than the old one. Measure your child from shoulder to toe and add another 10-15 cm to give room for wriggling and growing. Cut the fabric.

Here's the cut fabric with the zip. The zip I used is recycled from another item and it's a bit too short. I would use one that is about the length from under arm to about knee for ease of putting on and getting off.

Step 2: Attach the zip
Baste each part of the zip on the fabric so the ends meet the hole at the arm. The back and front of the sleeping bag are still seperate. This is when you sew them together from the bottom of the zip and almost down to the end as seen in the photo (before it starts to curve, so it's all still nice and flat).

Then you top stich on the zip on boths sides of the zip. In this photo you see I have done it on the side that's on the bottom of the photo.

Step 3: Sew the front and back together
Then you sew the rest of the front and back of the sleeping bag together, starting with the shoulder that will not have the snap opening and then the rest of it. Now there's only the neck area to do. Here's the photo of where I am at:

Step 4: Making the applique
I wanted to make an applique that would also double as reinforcement for the snaps/ button area. So I designed this possum with the tail that wraps around the neck of the sleeping bag. First I made a little drawing of my idea:

I then measured how big the sleeping bag was exactly and made a 1:1 size of the applique

Which I then transferred onto the fabric of choice (I mirrored it to make it fit the way I wanted on the opening) and cut out

Step 5: Attaching the applique and putting on snap closure
I attached the applique with pins and sewed it on with a zigzag stich. The opening of the sleeping bag was closed with pins the whole time until I was ready to cut open the applique exactly where the opening was. This ensured that the applique would fit perfectly on the opening. I added a little bit of fabric for the part of the opening that was hidden under the snap closure to ensure that there was reinforcement there too. (You can see the cut piece of fabric at the top on the back of the sleeping bag about 1cm x the width of the shoulder)

Then I drew with a bit of chalk the head, eyes, nose etc as I wanted them, and zigzag stiched them in a contrast thread. You see the close up of the face in the photo at the top.
I then attached the snaps for the closure at the top
Step 6: Finishing the sleeping bag
To make the neck a bit warmer, I cut a piece of fabric about 8cm wide and the total length of the neck opening from snap to snap. I attached this (fabric doubled) with a small zigzag stitch all round the neck, a bit like a turtle neck but looser.
Here's a photo with a willing participant wearing it (my toddler was NOT interested in putting on a sleeping bag at this stage!)

I have left the arm openings untouched as the fleece doesn't need to be zigzagged or anything. If you are using a woven or knitted fabric you would need to either hem the arm opening or add bias binding or similar.
No comments:
Post a Comment